⚡ Quick Summary: The Window Pull Rulebook
- The Core Problem: Direct midday sunlight outside is often 10 to 14 stops brighter than indoor room ambient. No single camera sensor can expose both simultaneously without blowing out the glass.
- Why Highlights Sliders Fail: Pulling the Lightroom Highlights slider to -100 creates ugly flat grey windows because clipped white pixels contain zero recoverable RGB color information.
- The Winning Workflow: Capture bracketed RAWs with your darkest frame (-2 EV or -3 EV) dialed in for clear outdoor exposure. Automated semantic AI then maps the window pane cleanly without manual pen-tool brushwork.
Ask any high-producing real estate agent what separates amateur property photography from luxury architectural media, and they will point to two things: vertical lines that don't lean, and clear window views.
When buyers browse listings on Zillow or Realtor.com, their eyes naturally track toward sources of light. If a window is blown out into a blinding white glare, it hides the property's exterior features—like swimming pools, landscaped yards, or mountain vistas—and signals an amateur shoot.
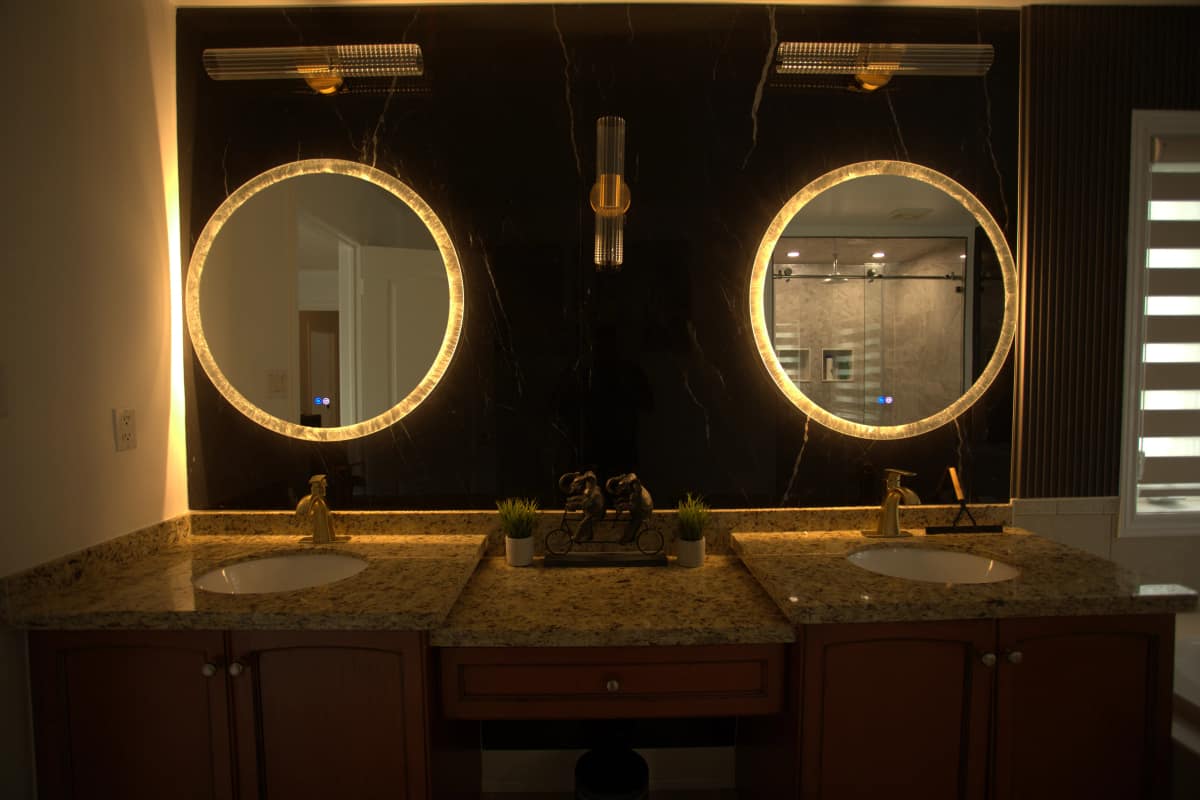
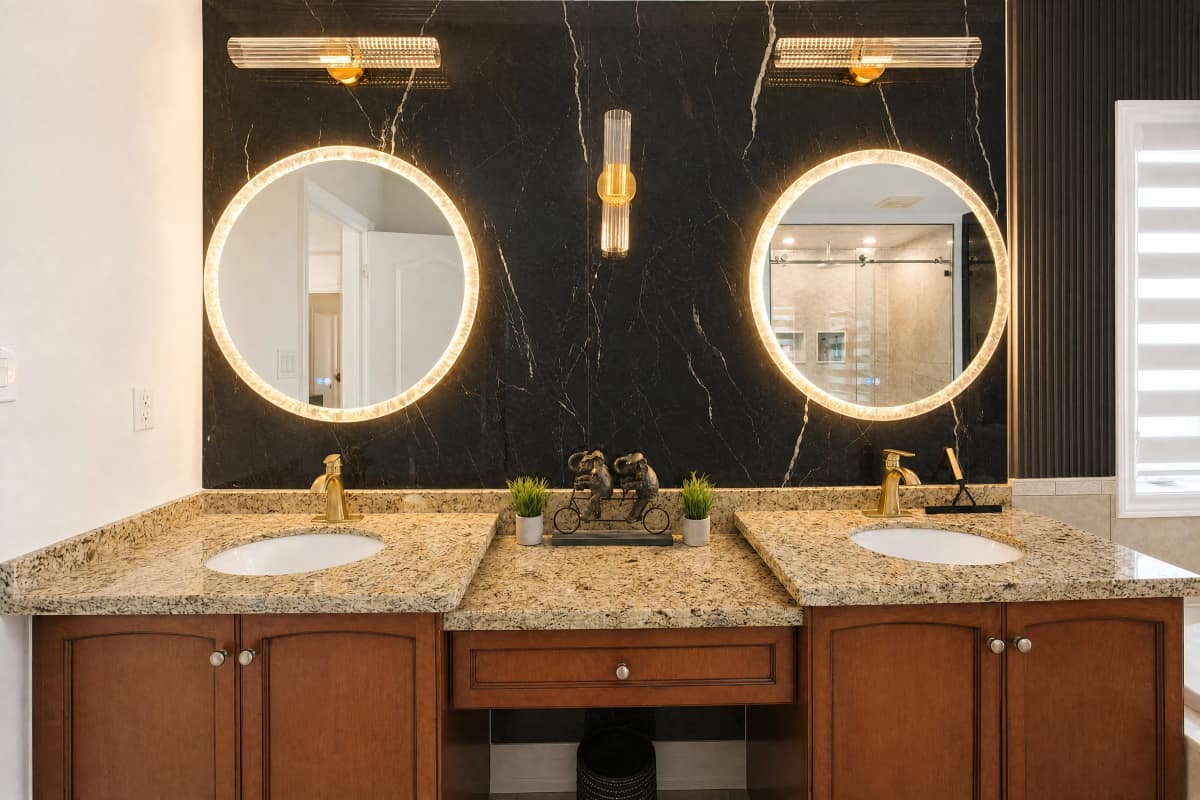
The Dynamic Range Problem: Why Windows Blow Out
To fix the issue reliably, you need to understand the physics of light inside a residential structure.
On a bright sunny afternoon, exterior daylight can measure around 10,000 to 15,000 lux. In contrast, an interior living room lit by lamps and ambient bounce rarely exceeds 200 to 400 lux. That is a massive 12-to-14 stop exposure differential.
Even top-tier full-frame sensors (Sony A7 IV, Canon R5, Nikon Z7 II) offer around 14 stops of total dynamic range under optimal laboratory conditions. When you expose to make the living room sofa look inviting, the sunlight outside the window inevitably clips to pure 255, 255, 255 white.
The 3 Traditional Approaches (And Why They Hurt Your Speed)
1. The Lightroom "Highlight Crutch"
Photographers often attempt to fix a single exposure by setting Highlights to -100 and Whites to -40. If the window pixels were completely blown out, this simply turns bright white into dirty, foggy grey. The grass looks dull, the sky turns cyan, and the window appears unnatural.
2. The Flash Window Pull (Manual Flambient)
The traditional pro method: you hold a high-powered speedlight (or Godox AD200) pointed directly at the window glass, fire a shot at 1/250s, f/8, ISO 100, and capture a frame where the flash cuts through the reflections. Then in Photoshop:
- Stack the ambient layer and the flash layer.
- Set the flash layer mode to Darken or Luminosity.
- Add a layer mask and hand-paint the window frame using a brush.
The catch: Doing this across 35 photos per listing takes 2 to 3 hours of grueling manual work every night. One slip with the brush leaves dark halos or glowing edges around muntin bars and blinds.
3. Standard HDR Blending
Lightroom's built-in HDR Merge frequently gets confused by transparent surfaces. It tries to smooth the contrast between inside and outside, which often results in edge bleeding—the bright green from outside shrubs spills over the white interior window trim, making the frame look discolored.
Eliminating Window Glare & Exterior Reflections
Even when you balance the exposure, double-pane glass often creates annoying reflections of interior lights, furniture, or the photographer on the tripod. Here are two vital shoot-day habits:
- Mind the Direct Reflections: Stand at a slight 45-degree angle to the window rather than directly parallel. This angles light bounces away from your camera lens.
- Circular Polarizer (CPL): For luxury waterfront listings where the outdoor view is the primary selling feature, keep a CPL filter in your bag. Rotating the filter eliminates up to 90% of surface glare on the glass.
The Exact Camera Settings for Foolproof Window Pulls
| Setting | Recommended Value | Why It Matters |
|---|---|---|
| Format | Uncompressed 14-bit RAW | Retains maximum highlight headroom in the dark bracket. |
| Aperture | f/7.1 to f/9.0 | Keeps both interior furniture and outdoor scenery sharp. |
| ISO | 100 (Native Base) | Prevents noise and banding when recovering exterior shadows. |
| Bracketing (AEB) | 3 shots @ 2 EV step (-2, 0, +2) | The -2 EV shot ensures the sky, greenery, and clouds are completely preserved. |
| Focus Mode | Manual Focus (AF locked) | Prevents the camera from hunting or shifting focus between bracketed frames. |
The 2026 Solution: Automated Semantic Window Blending
With Focal Rays, you don't need to manually cut out windows in Photoshop or carry heavy off-camera strobes.
Our deep architectural neural models analyze your bracket set:
- Semantic Detection: The AI identifies the exact geometry of windows, French doors, skylights, and glass sliders.
- Sub-Pixel Edge Feathering: It preserves window muntins, sheer curtains, blinds, and window frame trim with crisp, natural transitions.
- Photorealistic Luminance Balance: Windows shouldn't look like an artificial green screen pasted into a room; they need a natural, realistic luminance that feels genuine. Focal Rays balances outdoor brightness to look authentic to the human eye.
MLS Compliance Tip: Real estate boards strictly forbid replacing outdoor views with fake scenery. Focal Rays never invents artificial views—it extracts the real exterior detail captured in your darkest bracket exposure.
Frequently Asked Questions
What should I do if the window has closed sheer curtains or blinds?
Leave blinds tilted open at roughly 45 degrees toward the ceiling. This allows natural light to flood the floor while minimizing direct exterior glare. Focal Rays cleanly separates window slats and sheer fabric without unnatural contrast halos.
Can a clean window pull be done from a single RAW file?
If the exterior is moderately overcast or shaded, a single modern full-frame RAW file has enough latitude for Focal Rays to pull the window detail. However, for rooms with direct sun, shooting a 3-bracket burst is always recommended for pristine results.
Why do some window pulls look fake or 'green screen'?
Over-editing is the main culprit. When the outside view is darker than the indoor living room, the brain immediately recognizes the photo as unnatural. Outside should always appear slightly brighter than the interior to maintain physical realism.
Clean window pulls without the Photoshop burnout.
Upload your toughest high-contrast bracketed shoot today. 10 free full-resolution photos, balanced lighting, and crystal-clear windows in minutes.
Upload 10 Free Photos Inspect Before & After Samples →